# Tutorial: Installation for Py OpenCV
## Installation for Visual Studio Code
> (updated 2022.4)
This installation guide is for programming Python OpenCV. Make sure you install the correct software version as instructed.
> For DLIP Lectures:
* Python >3.9
* Anaconda for Python >3.9
* OpenCV 4.x
### 1. Install Anaconda
**Anaconda** : Python and libraries package installer.
Follow: [How to install Anaconda](https://ykkim.gitbook.io/dlip/installation-guide/anaconda#conda-installation)
###
### 2. Install Python via Anaconda
> Python 3.9 (2022-1)
Python is already installed by installing Anaconda. But, we will make a virtual environment for a specific Python version.
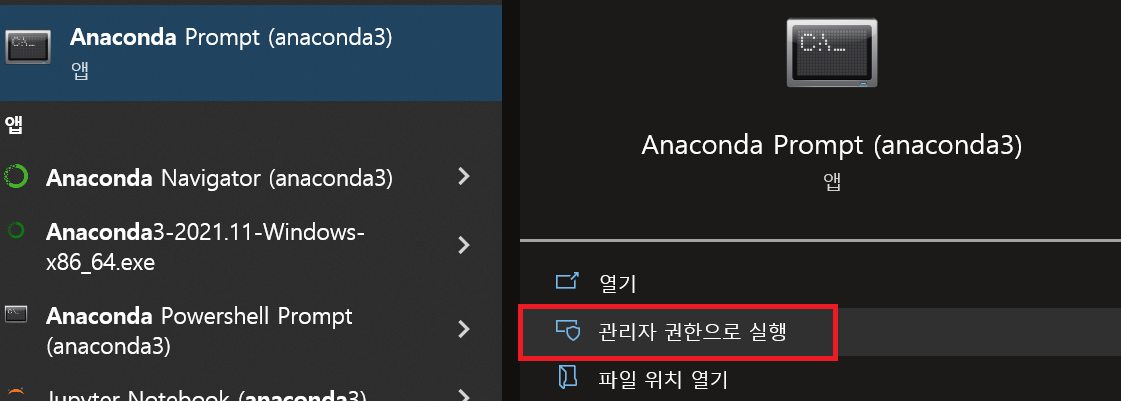
* Open Anaconda Prompt(admin mode)
* First, update conda and pip
```
conda update -n base -c defaults conda
pip install --upgrade pip
```

* Then, Create virtual environment for Python 3.9.
* Name the $ENV as `py39`. If you are in base, enter `conda activate py39`
```
conda create -n py39 python=3.9.12
```

* After installation, activate the newly created environment
```
conda activate py39
```

### 3. Install Libraries
#### Install Numpy, OpenCV, Matplot, Jupyter
```python
conda activate py39
conda install -c anaconda seaborn jupyter
conda install -c anaconda numpy
conda install -c conda-forge opencv
```
### 4. Install Visual Studio Code
Follow: [How to Install VS Code](/dlip/installation-guide/ide/vscode.md#installation)
### 5. Setup Configuration in Visual Studio Code
Follow: [Python in VS Code](https://ykkim.gitbook.io/dlip/installation-guide/ide/vscode/python-vscode)
Follow: [Jupyter Notebook in VS Code](/dlip/installation-guide/ide/vscode/notebook-with-vscode.md)
***
## EXERCISE
First, download the test image file: [Click here](https://github.com/ykkimhgu/DLIP-src/blob/main/tutorial-install/testImage.JPG)
> The image file must be in the same folder as the source file
Create a new source file as `TU_OpenCVtest.py`
### Exercise 1
Run python code and submit the final output image
```python
import numpy as np
import cv2 as cv
from matplotlib import pyplot as plt
# a simple numpy test
a = np.array([1,2,3])
print(a*a)
# Load image
img = cv.imread('testImage.jpg')
# Display Image
cv.namedWindow('source', cv.WINDOW_AUTOSIZE)
cv.imshow('source',img)
cv.waitKey(0)
```
### Exercise 2
Run python code and submit the final output image
```python
import cv2 as cv
# Open the video camera no.0
cap = cv.VideoCapture(0)
# If not success, exit the program
if not cap.isOpened():
print('Cannot open camera')
cv.namedWindow('MyVideo', cv.WINDOW_AUTOSIZE)
while True:
# Read a new frame from video
ret, frame = cap.read()
# If not success, break loop
if not ret:
print('Cannot read frame')
break
cv.imshow('MyVideo', frame)
if cv.waitKey(30) & 0xFF == 27:
print('Press ESC to stop')
break
cv.destroyAllWindows()
cap.release()
```
---
# Agent Instructions: Querying This Documentation
If you need additional information that is not directly available in this page, you can query the documentation dynamically by asking a question.
Perform an HTTP GET request on the current page URL with the `ask` query parameter:
```
GET https://ykkim.gitbook.io/dlip/image-processing/tutorial/tutorial-installation-for-py-opencv.md?ask=
```
The question should be specific, self-contained, and written in natural language.
The response will contain a direct answer to the question and relevant excerpts and sources from the documentation.
Use this mechanism when the answer is not explicitly present in the current page, you need clarification or additional context, or you want to retrieve related documentation sections.