Creating Header Lib
Introduction
You will learn how to create and maintain my own library/header file
For this tutorial, we will create ;
Declare all your functions in
myNM_tutorial.hDefine all your functions in
myNM_tutorial.cInclude your library in main source
C_createHeader_example.cppDon't worry about the file extension of *.cpp or *.c
You can use either extension with Visual Studio for Numerical Programming course
Step 1. Workspace Folder
Create local directory for programming
We will create the main directory under
C:\Users\yourID\source\repos
e.g. C:\Users\ykkim\source\repos
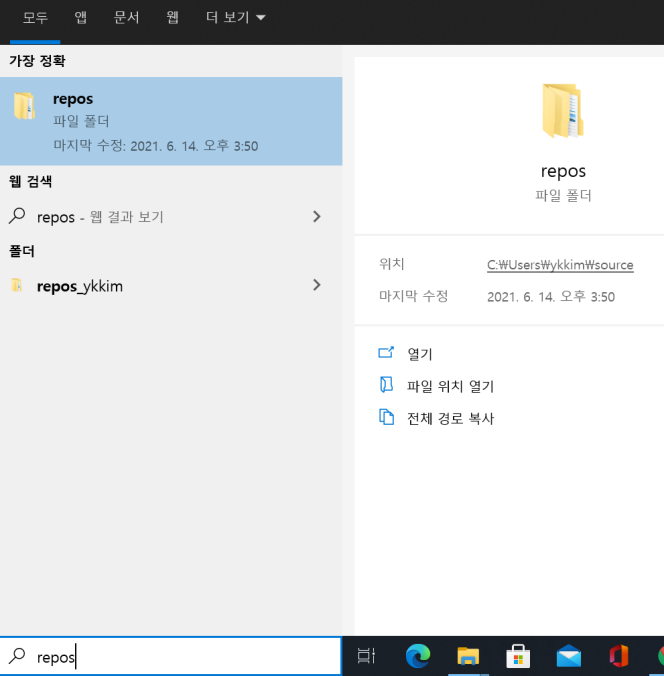
You can search for 'repos' in window menu

This is where your assignment projects should be located.
For this tutorial, let us create the new workspace directory as
Name the directory as "NP"
A name that clearly shows the course name
Create more necessary sub directories
Example:
C:\Users\yourID\source\repos\NP
C:\Users\yourID\source\repos\NP\tutorial
C:\Users\yourID\source\repos\NP\include
Step 2. Create a tutorial C Project
Under \tutorial Directory, create a new folder named as TU_createheader
C:\Users\yourID\source\repos\NP\tutorial\TU_createheader
Create a new empty project in Visual Studio Community. Name the project as TU_createheader
Create a new C/C++ source file for main()
Name the source file as
C_createHeader_example.cpp
Paste the following code or download src file from here
Step 3. Create your Header files
Under the directory of \include, create 'myNP_tutorial.cpp' and 'myNP_tutorial.h'.
C:\Users\yourID\source\repos\NP\include
Do not make duplicate copies of these files in your local drive. Update these files as you do assignments.
Step 4. Include your Header files
In the above main() program, include your header library by finding the path.
Now, you need to delete the function definition of printVec() in main(), for we have included the function from the header library file.
The main source file should be modified as
Compile and run the program.
Last updated